Photo fridge magnets

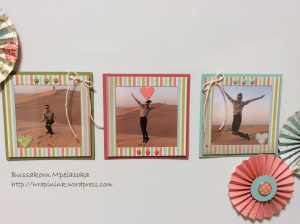
I have just had a chance to organise the photos we took during our recent holiday, starting with our last destination, Dubai. I love the photos of our daughter, Amy, jumping in the dessert when we went sand bashing, and decided to put them in fridge magnet frames.

Photo fridge magnets 1

The pattern paper used is still ‘Everyday Enchantment’ – love it a lot.  Paper I used as the base of the frames are Stampin’ Up! Old Olive, Primrose Petal and Pool Party.

Photo fridge magnets 2

I decorated the frames with hearts, candy dots and twine ribbons. Glossy accent was added to the hearts to give it some dimension and shiny look, but I haven’t mastered it well so it is a little messy and not thick enough – need more practices!

Photo fridge magnets 3

I also made some flowers using pattern paper and Stampin’ Up! scoring board, scoring at every quarter inch.

Photo fridge magnets 4

Thank you so much for stopping by & happy crafting!

My signature

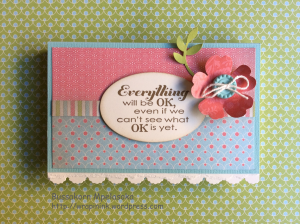
Everyday Enchantment Post it note holders

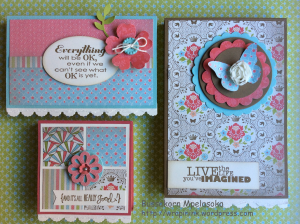
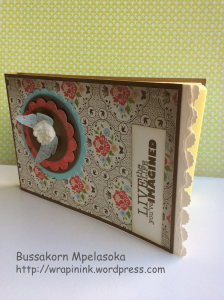
I got Stampin’ Up! paper pack called ‘Everyday Enchantment’ early this week and love it so much, couldn’t wait to use it. I started with making three post it note holders.

Everyday Enchantment Post it note holder 1

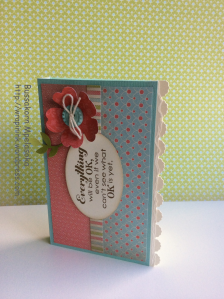
Although the paper pack is already retired, it is now available on Stampin’ Up! clearance rack (more than 50% off – how good is that!). If you like the paper, it’s good to order it quickly as it may not stay on the rack for long. I ordered mine through Deb Fearns.

Everyday Enchantment Post it note holder 2 Everyday Enchantment Post it note holder 3

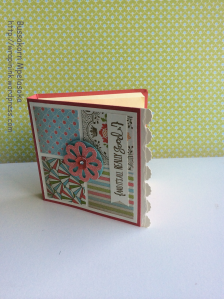
I love the look of the scallop edge underneath the tear edge that I have seen on Pinterest, so I tried it on all the holders.

Everyday Enchantment Post it note holder 5

Everyday Enchantment Post it note holder 4

I used Stampin’ Up! ‘Really Good Greetings’ for all the words.

Everyday Enchantment Post it note holder 7 Everyday Enchantment Post it note holder 6

Thank you so much for stopping by & happy crafting!
My signature


His & Her Christmas cards

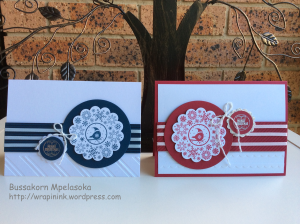
Today I pulled out a beautiful Stampin’ Up! old hostess stamp set called ‘Four Seasons’, which I have never used, and made two cards.

His & Her Christmas cards 3

I started with the blue one (Stampin’ Up! Midnight Muse) and think it would be good for a male recipient. It is a one layer card, hence low-cost and post friendly. The bottom of the card was embossed with Stampin’ Up! ‘Stylish Stripe’ embossing folder. The sentiment is from another Stampin’ Up! old hostess stamp set called ‘Mixed Medley’. I used versa mark ink and silver embossing powder.

His & Her Christmas cards


I modified it just a little for the red card (in Stampin’ Up! Raspberry Ripple), using silver glitter paper behind the sentiment, embossing the bottom of the card with Stampin’ Up! ‘Scallop Texture’ embossing folder, and making it a two layers card with Raspberry Ripple card base.

His & Her Christmas cards 2


Thank you so much for stopping by & happy crafting!

My signature

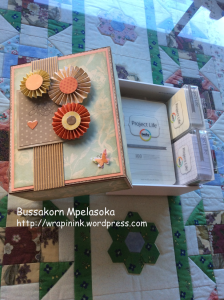
Craft box

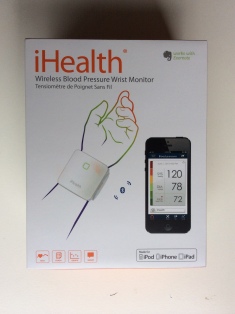
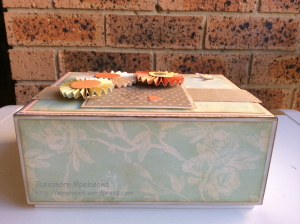
While tidying up my craft room, I felt I needed a few more boxes to keep things together. I found a box that came with my husband’s blood pressure monitor, which is of good size and very sturdy too. I dressed it up a little. Here are the ‘before’ and ‘after’ photos.

Box_original  Craft box 1

The papers used are from various sources that I have been hoarding in the past two years, including the tan cardboard with corrugated ridges that came in the tin of Japanese biscuits!

Craft box 2

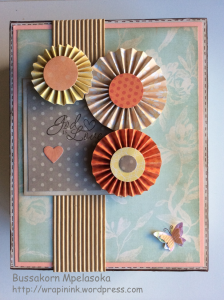
I sponged the edges of the papers with Stampin’ Up! crump cake ink to make it look a bit old, then decorated the box with a few flowers. The ‘God is Love’ stamp is from Stampin’ Up! ‘Trust God’ stamp set.

Craft box 4

At the moment I use it to store my plain journaling cards.

Craft box 3

Thank you so much for stopping by & happy crafting!

My signature

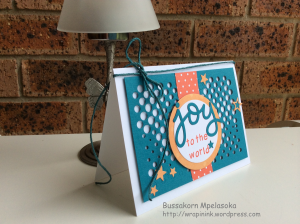
Joy to the world

Christmas is not far away and I haven’t prepared any gifts to family and friends. I almost panic, but tried to convince myself not to. Well, at least I have made some Christmas cards (two so far, three including this one).

Joy to the world 1

I wanted this card to be a cheerful one and these are what I used:

  • Penny Black ‘Creative Dots’ dies to create holes on the blue background (Stampin’ Up! Island Indigo)
  • Lawn Fawn ‘Scripty Joy’ dies and ‘Harold ABCs’ stamps for the sentiment
  • Memory Box ‘Cosmic Star Set’ dies

Joy to the world 2

Thank you so much for stopping by & happy crafting!

My signature

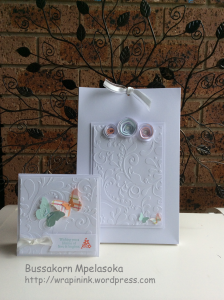
Wishing you a lifetime of love & laughter

A wedding card & a gift bag for a friend of mine.

I chose to go with white on white (thought it is a safe option for wedding related items). I used ‘Taylor’ embossing folder from Couture creations to give texture to the centre piece.

Wedding card & gift bag

Coloured butterflies (made using Stampin’ Up! ‘Beautiful Wings’ embosslit) were added to the card to brighten it up a little. The sentiment is from Stampin’ Up! ‘Love & Laughter’ stamp set.

Wishing you love & laughter 1

And flowers were added to the gift bag.

Wedding gift bag

Thank you so much for stopping by & happy crafting!

My signature

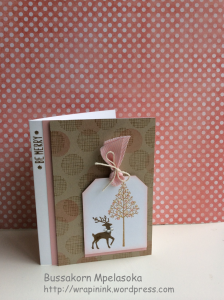
Be Merry

Today’s card is a Christmas card in non-traditional Christmas colours. Be merry 1

On the background piece, I first stamped a few circles randomly in pink (Stampin’ Up! Brushing Bride) then stamped over the top using Hero Art ‘Line Dot’ background stamp in brown colour (Stampin’ Up! Baked Brown Sugar). Be merry 2

On the little tag, I used the retired Stampin’ Up! ‘Warmth & Wonder’. (No any craft products in my craft room will ever be retired though.) The sentiment BE MERRY is from Lawn Fawn ‘Peace Joy Love’.

Thank you so much for stopping by & happy crafting!
My signature

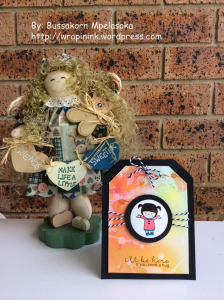
Tag shape card

I have decided that I will not buy any more craft products for a few months as we used a lot of money during our recent around the world trip. So for the next few months I will have to work with whatever I have. In a way, I am excited with this challenge.

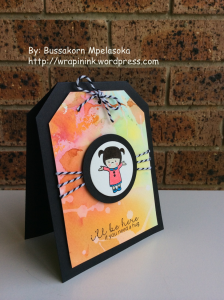
I have seen many beautiful cards with watercolour technique using distress ink, which I don’t have any, so I tried using Stampin’ Up! ink pads. I think it came out ok.

Tag shape card 1

The card is 4” ×5” in a tag shape. I used the cute ‘In My Heart’ stamp set from Mama Elephant for the centre piece and sentiment. As I don’t have any Copic or blendability markers, I used ordinary markers that I have to colour the girl. They are not great, but I don’t mind – the girl still looks cute anyway.

Tag shape card 3

Card recipe:

Stamp:  In My Heart (Mama Elephant)

Paper:   black, white, watercolour paper

Tool:      circle dies (Sizzix)

Tag shape card 2

Thank you so much for stopping by & happy crafting!

My signature

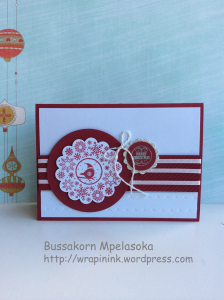
Winter owl Christmas card

I have been overseas on a long…holiday and just came back about two and a half weeks ago.

I have a bit of time to craft today, but haven’t been doing any craft for more than 3 months, I found myself quite rusty! Here is my first attempt.

Winter owl Xmas card 2

The card is 6” ×6”. I used only one stamp set, which is a small set from Lawn Fawn called ‘Winter Owl’.

I added glossy accent to the three little hearts and clear stickles to the owl’s scarf.

Winter owl Xmas card 1

Card recipe:
Stamp: Winter Owl (Lawn Fawn)
Paper: Cherry Cobbler & Season of Style (Stampin’ Up!), white, light grey
Tool: Heart Collection dies (Stampin’ Up!), Glassy Border die (Lawn Fawn)

Winter owl Xmas card 3

Thank you so much for stopping by & happy crafting!
My signature